Piano technique
How to practice Hanon exercises?
There is a lot of controversy regarding the application of Hanon exercises. Some of the criticism addresses a rather ‘unmusical’ nature of those exercises and the tedious aspect of mindless repetition often applied to such technical drills.
In today’s article, I would like to mention several piano practising strategies which I found useful in my own practice and teaching. Those practice tips can help you use Hanon exercises to overcome various pianistic challenges.
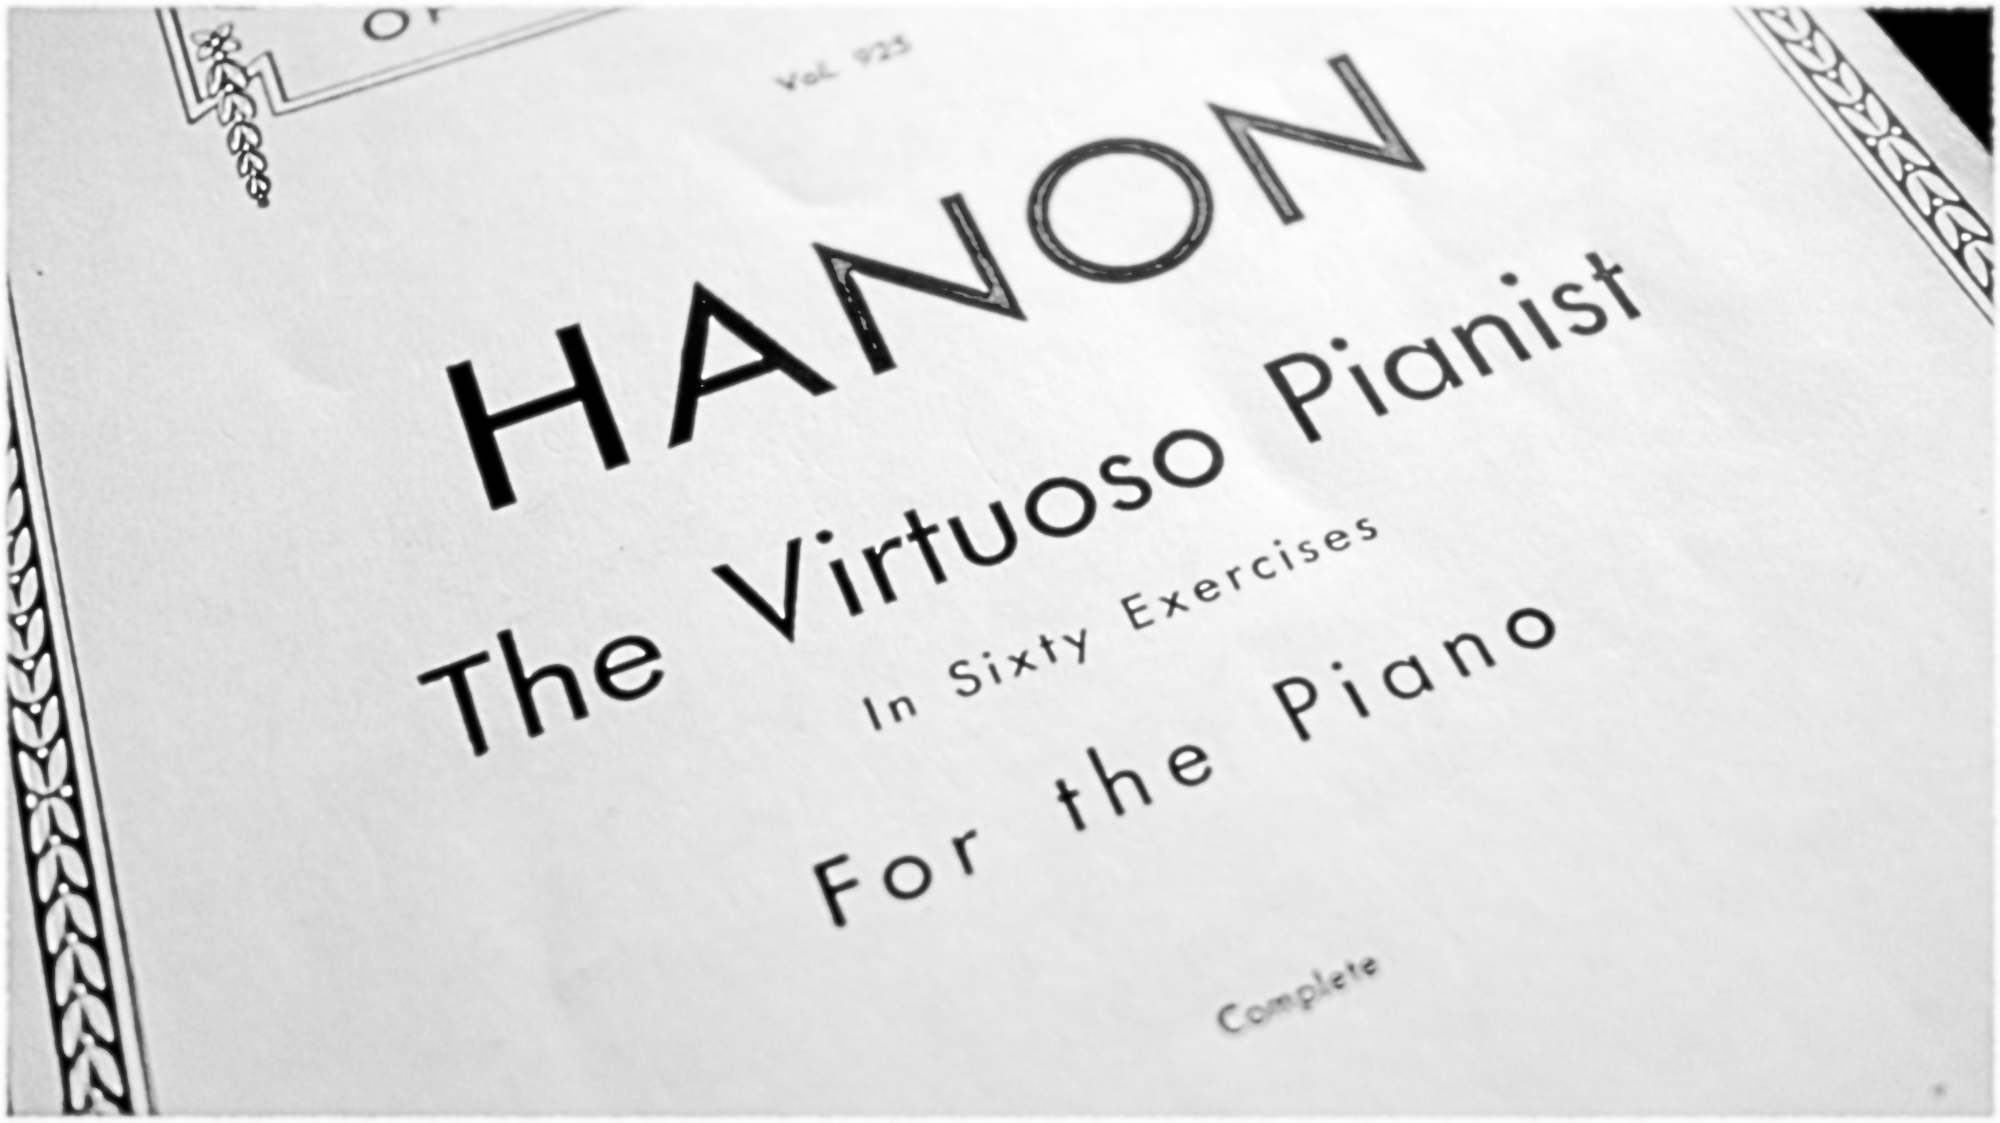
The complete score of exercises discussed in the article (The Virtuoso Pianist by Charles Hanon) can be found here (www.imslp.org).


Pros and cons of practising Hanon exercises
Advantages:
- Both hands are treated equally (left hand is not neglected);
- No musical problems – you can focus exclusively on technique and sound quality;
- Made up of simple structures so it can be taught to or learned by absolute beginners;
- They can be used to teach endurance;
- They isolate various technical problems (finger speed, thumb shifts, double notes, octaves) so each of them can be addressed on its own terms;
- They can be used to develop a good singing sound from the piano as well as evenness and sound control.
Disadvantages:
- Can be boring and pointless if no clear goal has been set;
- Can cause injuries if practised incorrectly;
- Do not develop musical aspects of playing.
Practising Hanon exercises in the ways described in this article can be very useful, but without the help of a professional piano teacher, issues regarding the hand position and movement, as well as sound and rhythm inaccuracies can often remain unnoticed. Practising Hanon without proper guidance addressing those issues is often a complete waste of time.
Please practice the exercises below at comfortable speeds, always observing the physical well-being of your hands and body. At any sign of tiredness, please take a break. If the fatigue builds up, consult a professional teacher to adjust your hand position and movement to avoid injury. If you observe the pain, you must discontinue using the exercises. In fact, pain means that you have missed many earlier signals of tiredness which should alert you to make changes to your practice routine, or simply take a break.
Let’s begin by exploring the original version of the Exercise No. 1 from The Virtuoso Pianist by Charles-Louis Hanon (the full version of all exercises can be found here):
1. Vary the articulation between hands
If you are new to Hanon, or piano playing in general, this one can be challenging. In numerous pieces of music, hands have to perform varied articulation (one hand playing legato while the other playing staccato). This exercise increases hands independence.


2. Vary the dynamics between hands
This will help you balance the sound volume between your hands in pieces, but also help in shaping the music. See the examples of Hanon exercises below for some possible options:


3. Swap hands position
To better hear inaccuracies and issues related to the left hand (weaker fingers, uneven tone, unnecessary accents), one of the most useful exercises is to play Hanon swapping the right and left hand. This allows you to hear the left hand a lot better. It is also one of the ultimate ways to detect problems with synchronisation between hands (not playing precisely simultaneously).
If you have a problem executing this exercise well, your hands often behave differently, and their movement and position might need adjustment.
Tip: Practice hands separately to help them learn their parts independently before swapping them around when playing together.

4. Vary accentuation
This way of practising Hanon is quite popular and is used to strengthen and gain control over a particular finger. In each exercise, a different set of fingers gets your attention. For example, if you notice that your second finger is weaker than others, pick an exercise that places the accent on that finger to address its movement and position.


5. Double the speed of various finger pairs to gain speed
You can do these exercises at your regular tempo. The notes marked twice faster can be played lighter, and over time, they should become more transparent and well-controlled.


6. Vary the metronome beat
This strategy helps in developing a strong sense of rhythm. Most of the Hanon exercises are written in two crochets/quarter notes per each measure/bar, in semiquaver/sixteenth notes rhythm.
If you feel that you need to improve your rhythm and tempo control, use Hanon to vary the metronome beat:
- Semiquaver/sixteenth note = 240BPM (one note per beat)
- Quaver/eight note = 120BPM (two notes per beat)
- Crochet/quarter note = 60BPM (four notes per beat)
- Minim/half note = 30BPM (if your metronome permits such slow speed) (eight notes per beat)
Being able to control the speed at various metronome beats will assist you in developing a stronger sense of rhythm and tempo control. Practice those variants which seem most difficult to execute precisely.
7. Transpose and practice Hanon exercises in various keys
The main reason for transposing Hanon to different keys is that in keys other than C major, your fingers will play in less comfortable, or hardly accessible positions. In this way, they learn to develop and improve.
Below are two examples of how to do this.


8. Vary the rhythm
Those two exercises are very popular, but I do not favour them since the faster notes in this variant are often played untidy and unclearly.
If you decide to use them, please make sure that your tempo choice is slow enough so that the faster notes can still be well-controlled and clear even if played much lighter.


9. Build stamina – do not stop between exercises
This way of practising Hanon exercises can be dangerous. Continuing your practice across many exercises – particularly if your hands are tired or in pain – is a simple recipe for an injury. Use it only under the supervision of a well-experienced teacher!
You can begin by playing two exercises without stopping and keep increasing the number as long as your hands feel comfortable and not tired. Repeat the same process over weeks and months and observe your hand’s increased ability to perform extended sections without being physically exhausted. Remember: Playing all Hanon exercises as a continuous drill can only be achieved at proper speed after many years of practice.
To facilitate playing through all 31 exercises with no stops, here you can find exercises 1-30 fit into just four pages (IMSLP).
Tip: I would avoid practising this way to prevent injuries unless you are under the supervision of a professional teacher.
10. Listen to the evenness of sound and precision of tempo.
The final strategy in this article is not exactly a strategy but advice which will improve the quality of your Hanon practice. When performing the techniques mentioned above, listen and assess whether you can sustain a perfectly even rhythm, and if there are any notes which stand out by being:
- Too loud;
- Too soft;
- Longer or more legato than others;
- Shorter or more staccato than others.
Listening to your practice this way will help you apply various exercises to improve particular sound/technical issues directly.
Tip: Keep in mind that you can also combine various exercises described above. For example, you can double the first and second semiquaver while varying articulation or dynamics, or both.
Conclusions
The practice strategies related to the Hanon exercises discussed above apply to the first 31 exercises in ‘The Virtuoso Pianist’ book. The other types of piano technique represented in this book (such as octaves, double notes, thumb technique, etc.) require a different approach and are beyond the scope of this article.
I hope you enjoyed this quick run of strategies for practising Hanon exercises. Please let me know in the comments section of via Facebook if you would like any other variants added to the list. Happy practising and teaching everyone!
Hello. I’d like to know if the idea of swapping hands comes from you or from Hanon himself? Thank you for your answer.
I sometimes practice Hanon exercises by staggering the fingering. Example: Play c with left hand (lh) then play c right hand (rh), d with lh then d with rh, e lh then e rh, etc.
Do you believe this staggering technique (for lack of better descriptor) is a good way to vary the practice of Hanon exercises?
Dear Alan,
I am not sure if I understand the staggering technique you described. Is it similar to the ‘broken octave’ exercise (such as Hanon 56) but executed with hands interchanging between each other?
This is interesting. What is your goal when practising Hanon in such a way?
Thank you for your comment, I hope you enjoyed some of my suggestions!
Thanks for the response. Your suggestions are great and I will use these (some I have done previously).
With respect to method I mentioned. It is not like the broken octaves of Exercise #56 though that exercise is somewhat similar. In my “staggered” method, at no point in time are both hands playing a note or notes simultaneously. Or at least both hands never strike a note or notes simultaneously.
Imagine Exercise #1 for example. The left hand could play note then rest, note-rest, etc., throughout. The right hand would begin with rest then note, rest-note, rest-note, etc., throughout.
My goal is to finely home timing and complete independence of fingers, and it seems to train use of wrist, arm, shoulder when necessary also.
Correction … yes it is like #56 with hands interchanging. I overlooked your use of work interchange. That is better way of describing it as opposed to staggered.
Yes correct the hands interchange. At no time do both hands play or at least strike notes simultaneously. Note-rest-note-rest ad infinitum in one hand in conjunction with Rest-note-rest-note ad infinitum in the other hand (or vice-versa).
It seems a good way to ensure exacting evenness and independence of fingers. Good rhythmic training also, etc. It could be used alone or in combination with variations you suggest here.
If you try this please advise if you believe this seems to be a valuable variation on Hanon or practicing in general. I’m curious if you believe it has pedagogical merit,.
Hello Henry, thank you for your comment. I am afraid I do not know whether the idea of swapping hands came from Hanon but this way of practice was advised by my teachers whenever in my repertoire I encountered a section with both hands performing in unison, one octave apart. Some of the examples of such music include Chopin Sonata No. 2 op. 35, IV. Finale. Presto, and Tchaikovsky – Piano Concerto in b flat minor op. 23, III. Allegro con fuoco.
I use it in Hanon to expose left hand inaccuracies – it can so easily hide under the sound of the right hand.
Thank you for visiting.
Hello, and thank you for some very enlightening ideas. Being a lefty, I find the notion of swapping hands appealing – it lets my better hand get the spotlight for a bit 🙂
I’m writing because I have some confusion, I see the page you reference where all 30 exercises are in 4 pages, but several of the exercises don’t actually fit that – exercise six changes the final note of the last ascending measure to go down to a c instead of up to a g, the final note of the final measure goes down to an e instead of a c, and there are variances in 9 descending, 12 starting ending and turning ascending to descending, 15,17, and 20 turning and ending, 21, 22, 29, and 30 ending. To further the confusion, Hanon recommends playing 1-20 as a single exercise, which I’ve never been fond of (I do groups of 4), and I do fine until I try to go from 19 to 20, which doesn’t finger well as written. Was curious if you had done anything with that?
Hello, thank you for your comment and for providing such a detailed list of awkward transitions between exercises.
Like yourself, I am left-handed, and I also enjoy the hand swapping practice!
For me, the little ‘cheat-sheet’ containing the abbreviated thirty exercises helps in making sure I do not forget or skip any of them. Over time, I have memorized the various transitions. Still, I imagine that it might be helpful to create another abbreviated version where the first and last bar of each pattern up, and first and last bar of each pattern down would be included, thus eliminating the need for memorization.
One of the most awkward is indeed the transition between exercise 19 and 20. I have not thought much about it until you mentioned it, but when playing through all thirty, I tend to take a split-second break to shift to the new position.
If the intended goal of playing through thirty exercises with no stopping is to build stamina, I think that such a small interruption will probably not harm the outcome of such practice.
If you would like to connect No. 19 and 20 smoothly and legato, may I suggest an alternative fingering for the left hand:
Last bar of exercise No. 19: 15234213, the first bar of exercises No. 20: 1421 etc.
The right hand can be connected smoothly with no fingering adjustments.
This fingering is acceptable, but at a faster tempo, it might be a bit too slow due to frequent use of the thumb – depending on the hand size and shape.
Thank you again for visiting and commenting.
PS. I also prefer to run through the exercises in smaller sets. I think going through all thirty requires quire a lot of preparation and consistent practice, particularly at faster tempos.
Once you start practicing Hanon, you’ll quickly memorize the first couple exercises. Use these as quick warm-ups before a gig! You can even turn the volume down (if you’re using a digital keyboard) and run through them. People who argue against practicing Hanon exercises complain that they become mindless after a few runs through the exercises. To me, that’s a problem with the player, not the exercise.